Data Migration Step 1: Importing patients
Welcome to the first step of your data migration process on Embodia - importing your patients.
This guide will help you prepare everything you need for a smooth import.
Preparing for patient import
Export from previous system: Export your patient list from the previous system in CSV file format.
Locate a unique patient identifier on your CSV: When you export a CSV file, it will usually contain one or more columns that serve as unique identifiers. These columns can have different names depending on the software you are importing from; for instance, they might be labelled as ‘patient ID,’ ‘patient number,’ ‘unique identifier,’ etc.
Select one of these columns to designate as the primary unique identifier for your data import. It’s good to keep other unique identifiers as well (for example, patient number or patient ID).
For all other columns, if their data is something you would like to import, keep the names as they are presented in the CSV file.
If the system you are coming from does not have a unique identifier, it’s best to use the date of birth as the unique identifier.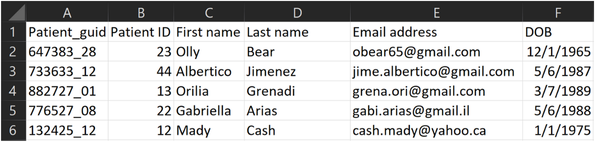
Patient properties: In order for Embodia to accurately bring in all the data associated with your patient, we make use of a feature called patient properties. Patient properties are often used to collect important information from patients that doesn’t change frequently. They are also used when importing patient data as a way to create labels within Embodia to match up with your CSV columns. If you would like to learn more about patient properties, you can do so here.
You do not have to set up the following as properties: First name, Last name, and Email.
For all other patient information:
For any additional column of patient data you would like to import, you will need to make it a patient property. You can find examples of other patient properties in this guide. You do not need to make properties for columns that you do not wish to import.
Remember: if your exported CSV has a unique patient identifier, you also need to create a patient property called Patient ID.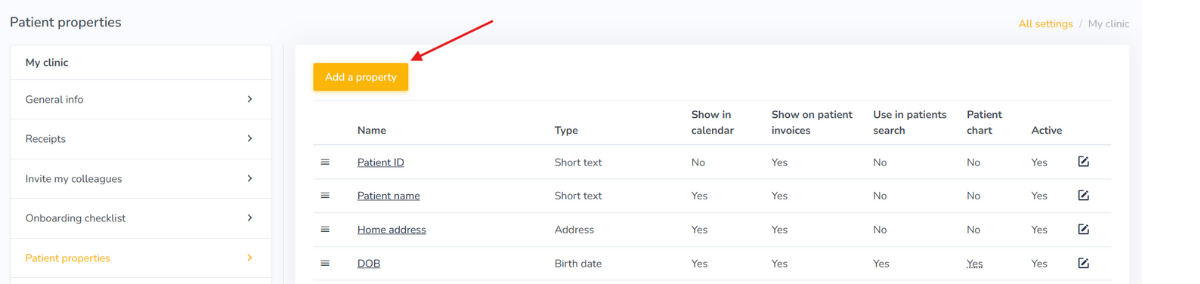
Learn how to set up your patient properties in this guide.
Important notes:
- Please make sure any dates in your CSV are formatted YYYY-MM-DD to ensure they are imported correctly.
- When adding address(es) as patient properties, you will only need to create one patient property per type of address (ex. home, billing, etc.). Embodia automatically includes: Line 1, Line 2, City, Postal/Zip code, and Country subfields in its address-type patient properties. When you are formatting your CSV however, if you would like all address subfields to be filled, you will need to ensure there is a column for each of the above subfields. Otherwise, if you only have one address column in your CSV, the full address will be imported to Line 1 only.
- For any patient property you set up, you can also choose where you would like the response to this patient property to appear (Show in calendar, Show on patient invoices, Use in patients search, or Patient chart). You can ignore this for now, as you can always come back at a later time and adjust where any patient property response will appear. If you are interested in learning more about the above options, you can watch this short video.
Importing patients
Once you have completed the above preparation for data migration import, you can proceed with your import by following the steps in this guide.
Alternatively, if you wish that the patient import be done by our support team, please email the Embodia team at support@embodiaapp.com to request a secure clinic upload link, then upload the patient list CSV to that link.